Time-lapse is a fascinating cinematographic technique that involves speeding up the passage of time by capturing a series of images at regular intervals and then stitching them together to create a video. When done with a drone, this technique allows you to capture spectacular aerial views and dynamic scenes, such as moving clouds, changes in light, or moving crowds. If you’re a beginner and want to create your own time-lapse videos with a drone, this guide will provide you with all the information you need to get started.
What is a time-lapse?
Time-lapse is a technique in which photos are taken at regular intervals over an extended period of time and then combined to produce a time-lapse video. This allows us to show phenomena that unfold too slowly to be perceived at normal speed, such as the growth of a plant, the formation of clouds, or the transition from day to night.
Why use a drone for a time-lapse?
Using a drone to shoot time-lapse videos offers several advantages:
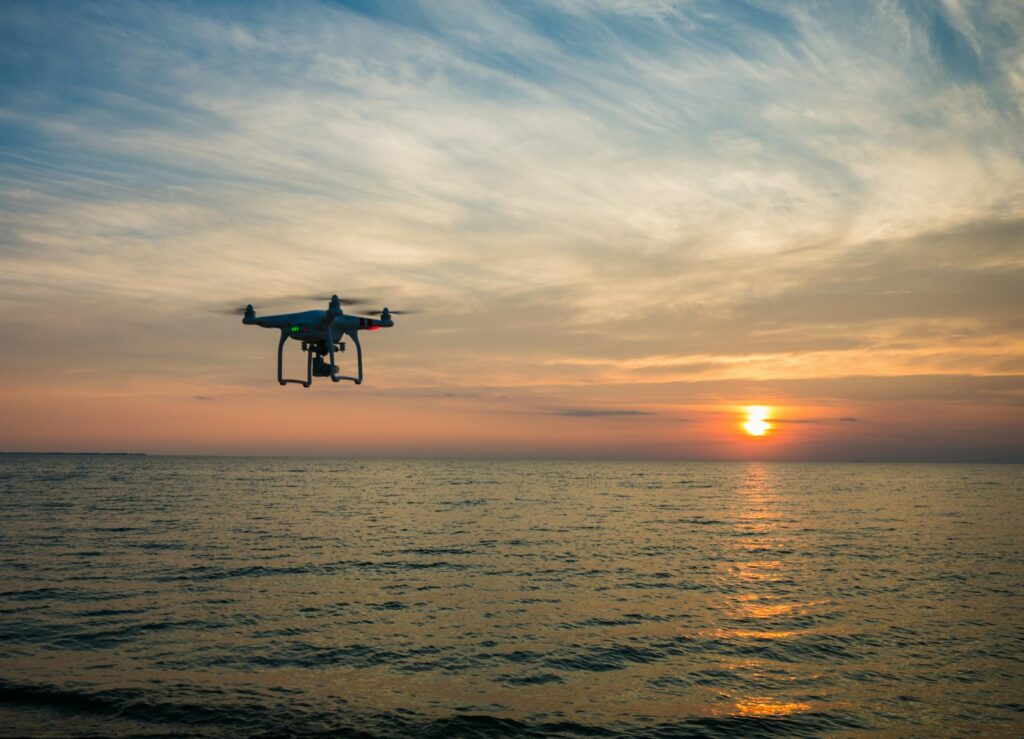
- Breathtaking views: A drone allows you to capture scenes from heights and angles that are inaccessible by other means, offering a unique perspective.
- Smooth movements: You can add movement to the time-lapse, creating a dynamic video that captures the flight in motion.
- Greater flexibility: Unlike traditional ground-based time-lapse techniques, drones allow for a wider variety of shots, whether they are panoramas or more complex scenes.
How do you create a time-lapse video with a drone?
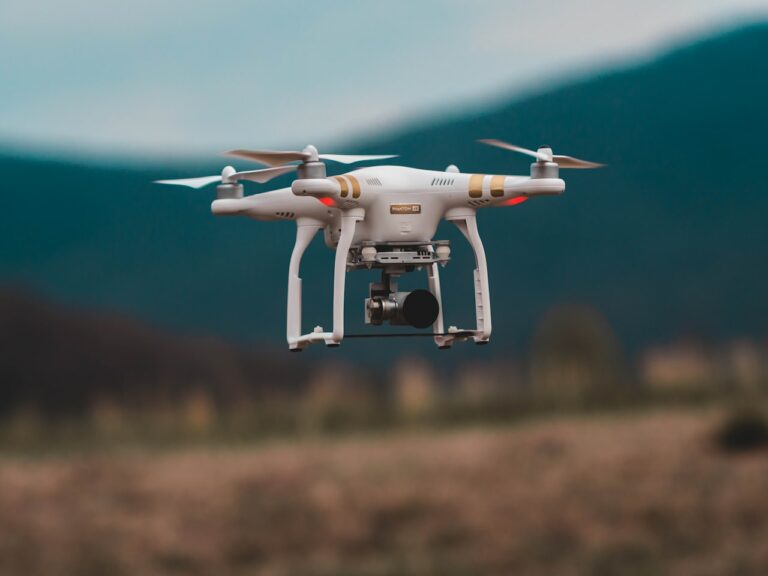
1. Choosing the Right Drone
First and foremost, it is essential to choose a drone capable of taking high-resolution photos and capturing images at regular intervals. Several drones are designed to make it easy to capture time-lapse footage, including the following models:
- DJI Mavic Air 2: This drone is equipped with a 4K camera and allows you to create time-lapse videos by adjusting the intervals and recording duration.
- DJI Mini 3 Pro: More compact yet powerful, it offers time-lapse capabilities with a high-quality camera.
- Autel EVO II Pro: This drone offers excellent image quality and a wide range of features for photographers and videographers.
2. Set up the drone for a time-lapse
Once you’ve selected your drone, it’s important to set it up properly to get the best possible time-lapse. Most modern drones have a time-lapse mode built into their flight app. Here are the steps to follow:
Enable time-lapse mode: In apps like DJI Fly or Litchi, you’ll find a specific mode for time-lapses. This mode lets you set parameters such as the photo frequency (interval) and the duration of the shoot.
Select the interval: The interval between each photo depends on the type of scene you want to capture. For example:
- For a sunrise or sunset, an interval of 5 to 10 seconds may be ideal.
- For a cloud or a dynamic scene, an interval of 1 to 3 seconds can produce good results.
Exposure settings: Be sure to manually adjust the exposure and white balance to avoid sudden changes in lighting while shooting.
Plan the flight: If you want to add movement to your time-lapse (a smooth camera movement during the flight), you can set a flight path with waypoints so that the drone moves slowly while capturing images.
3. Take the photos
Once your drone is in position and the settings are configured, it’s time to start capturing your footage. It’s important to keep in mind that a time-lapse can take a long time, depending on the duration of the scene you want to film. For example, for a 10-minute time-lapse with 5-second intervals, it could take several hours of flight time to capture all the necessary images.
4. Process the images and edit the video
After taking the photos, it’s time to put them together to create your time-lapse video. Here are a few key steps:
Import images: Use software such as Adobe Lightroom or Litchi to import and organize your photos.
Editing the time-lapse: You can use video editing software such as Adobe Premiere Pro, Final Cut Pro, or DaVinci Resolve to edit the images and export them as a video.
Adjust the speed: Once the images have been combined, adjust the speed so that the photos scroll at the desired rate.
5. Add effects and finalize the video
To make your time-lapse more dynamic, you can add effects such as smooth transitions or virtual camera movements. Software like Adobe After Effects or Insta360 Studio lets you add “zoom” or “rotation” effects to the images to enhance the visual impact.
Tips for Taking Great Time-Lapse Videos with a Drone
- Be patient: A time-lapse can take a long time, so make sure your drone has enough battery life and storage space.
- Keep an eye on the weather: Weather conditions can affect the quality of your time-lapse. Try to film when the weather is stable, especially if you’re capturing scenes like sunsets or clouds.
- Use an ND filter: ND (neutral density) filters are very useful for managing light and preventing overexposure, especially when shooting in broad daylight.
Conclusion
Creating time-lapse videos with a drone is a spectacular way to capture the passage of time and produce stunning visual content. Thanks to modern, easy-to-use drones and intuitive apps, it’s never been easier to create aerial time-lapse videos. Whether you’re an amateur photographer or an experienced videographer, this technique offers endless possibilities for enhancing your creative projects.
For more information about drones and their features, here are some useful links: