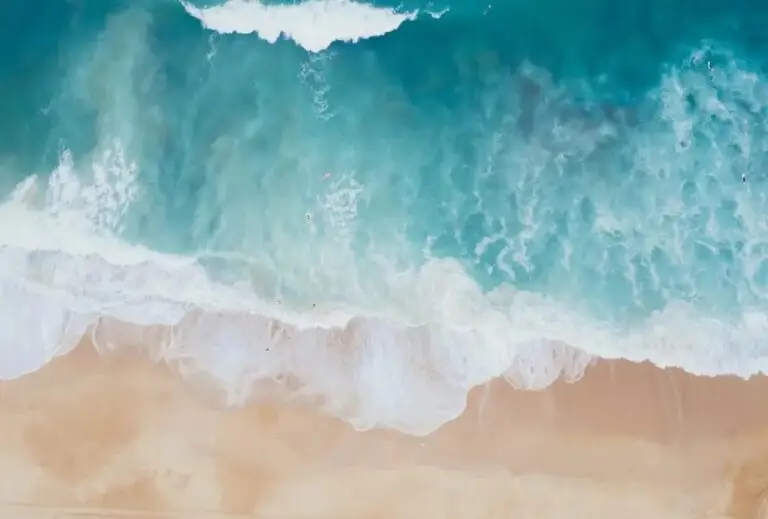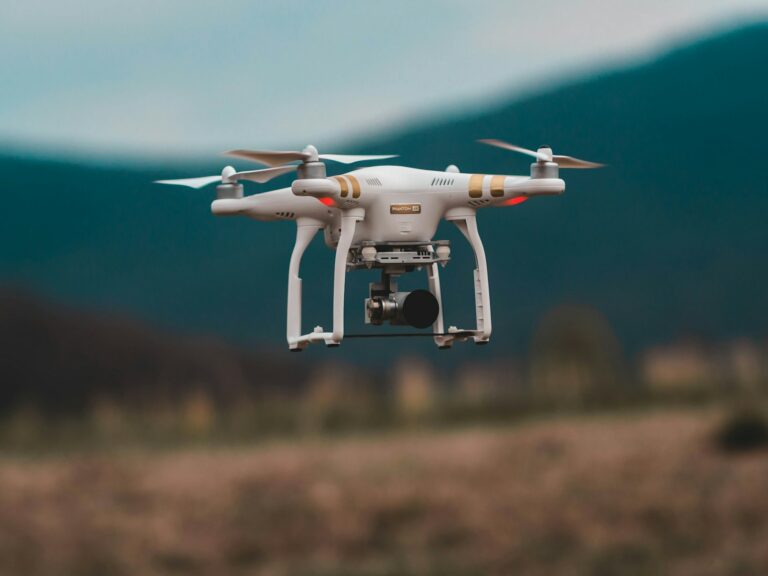
Drone photography has become commonplace, whether for professional projects or personal shoots. Drones allow you to capture spectacular images from unique angles, but to achieve the best results, using filters can make all the difference. In this article, we’ll explore why and how to use drone filters to enhance your aerial photos.
Why Use Drone Filters?
Drone filters are essential accessories that allow you to control exposure, improve image quality, and produce sharper, more professional-looking photos. Here are a few reasons why you should consider using filters for your drone:
1. Reduce Overexposure
Drones are often used to capture outdoor shots, where natural light can be very intense. This can cause your photos to be overexposed, especially in broad daylight. A neutral density (ND) filter reduces the amount of light entering the lens, allowing you to take properly exposed photos even in direct sunlight.
2. Improve Contrast and Saturation
Polarizing filters (CPL) are used to reduce unwanted reflections and enhance color saturation, particularly in skies or landscapes featuring water. These filters are ideal for making colors more vivid and details sharper.
3. Adjust the Shutter Speed
By adjusting the shutter speed, an ND filter allows you to better control the smoothness of motion in your photos, especially when shooting moving landscapes such as rivers or clouds. This can give your photos and videos a more cinematic look.
4. Improve Image Quality
Filters not only help improve exposure and colors, but also reduce chromatic aberrations and optical distortions. This results in sharper, more detailed images without unwanted effects.
Types of Drone Filters
There are several types of drone filters, each with specific functions. Here are the main types of filters and their benefits:
1. ND (Neutral Density) Filters
ND filters are designed to reduce the amount of light that reaches the camera’s sensor. They are particularly useful for filming or taking photos in broad daylight, when intense light can cause overexposure. ND filters are available in various densities (ND4, ND8, ND16, etc.), each offering a different degree of light reduction.
- Usage: To control exposure in direct sunlight and create artistic blur effects (such as motion blur on water or clouds).
- Example of a drone compatible with ND filters: The DJI Mavic Air 2, which offers good compatibility with ND filters for more balanced photos.
2. CPL (Circular Polarization) Filters
Polarizing filters reduce glare and increase color saturation. They are ideal for landscape photography, especially when water or glass is involved. By reducing glare, you get sharper photos with more vibrant colors and bluer skies.
- Usage: To eliminate reflections from surfaces such as water or glass, and to enhance the clarity of the sky or natural elements.
- Example of a drone compatible with CPL filters: The DJI Phantom 4 Pro V2.0 delivers exceptional performance when used with CPL filters, making it perfect for natural landscapes.
3. UV (Ultraviolet) Filters
UV filters were historically used to block ultraviolet light. Although camera sensors today are less sensitive to these wavelengths, UV filters can provide additional protection for your lens while reducing atmospheric haze.
- Usage: To protect your drone’s lens and, in some cases, soften the light at high altitudes or in foggy conditions.
4. Graduated ND Filters
Graduated ND filters reduce light in only part of the image, which is useful for scenes with a bright sky and a darker ground. These filters are ideal for landscapes where the sky is much brighter than the ground, such as during a sunset.
- Usage: To balance the light between the sky and the ground; particularly useful in landscape photos with high contrast.
How to Use Drone Filters?
1. Choosing the Right Filter Based on Lighting Conditions
The choice of filter depends largely on the lighting conditions in which you are working. For example, if you are in direct sunlight, an ND filter will be very useful for reducing excessive light. If you are photographing a landscape that includes water, a CPL filter can enhance color saturation and eliminate reflections.
- Tip: In broad daylight and sunny weather, use ND filters (ND8 or ND16). For landscapes with reflections, a CPL filter is recommended.
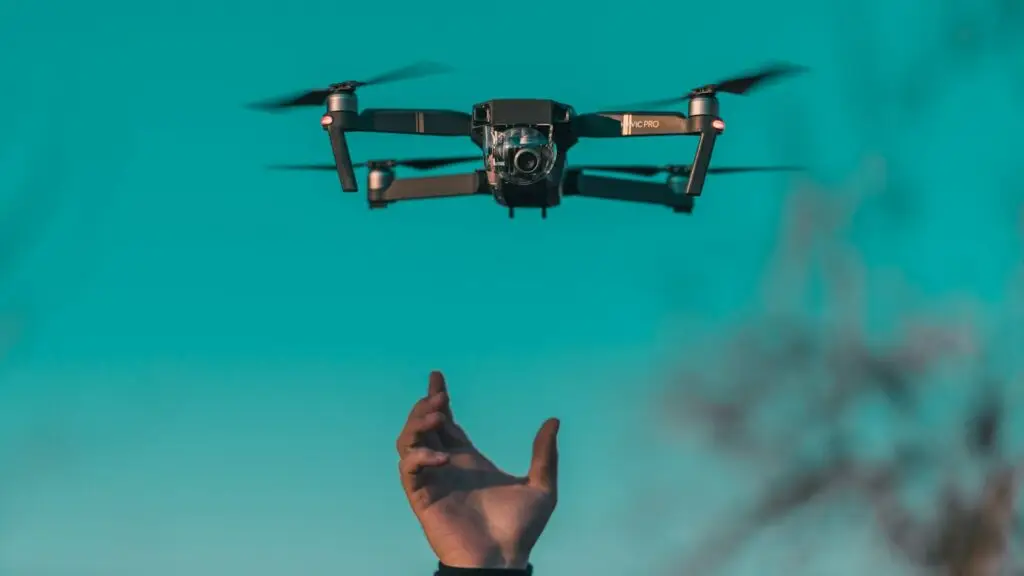
2. Easily Install and Remove Filters
Most drone filters are designed to be easily attached and removed. You can install a filter in just a few seconds by screwing it onto the drone’s camera lens. Be sure to lock the filter securely in place to prevent it from falling off during flight.
- Tip: Be careful when removing the filter to avoid scratching the drone’s lens.
3. Test and Adjust the Filter Intensity
Once the filter is installed, take some test shots to see how it affects the exposure and colors in your photos. If you’re using an ND filter, adjust the shutter speed to achieve the correct exposure. For CPL filters, you can rotate the filter while shooting to adjust the intensity of the polarization and achieve the desired effect.
4. Using Filters in Specific Conditions
Depending on your photography projects, filters can be used for specific situations. For example:
- Sunsets: Use a graduated ND filter to prevent the sky from being overexposed while balancing the light with the ground.
- Landscapes with water: A polarizing filter will eliminate reflections on the water and enhance the clarity of natural elements.
Which Drones Are Compatible with Filters?
Many modern drones are compatible with filters, including popular models from DJI andAutel Robotics. Here are a few drones we recommend for use with filters:
DJI Mavic Air 2
This versatile drone allows you to use ND and CPL filters to enhance your aerial photos. Its 48 MP sensor and 4K camera let you capture sharp, well-exposed images when used with the right filters.
- Learn more about the DJI Mavic Air 2: DJI Official Website
DJI Phantom 4 Pro V2.0
The Phantom 4 Pro is a more professional model, offering advanced features such as ND and CPL filters. This drone is perfect for photographers who want optimal image quality in challenging lighting conditions.
- Learn more about the DJI Phantom 4 Pro V2.0: DJI Official Website
Autel EVO II Pro
The Autel EVO II Pro, with its 50 MP sensor and 6K video recording capability, offers excellent compatibility with ND and CPL filters for better light and color management.
- Learn more about the Autel EVO II Pro: Autel Robotics Official Website
Conclusion
Drone filters are powerful tools that allow you to take high-quality photos by providing greater control over exposure, colors, and details. Whether you’re a passionate amateur or a professional, using the right filters can transform your aerial photos into true works of art. Choose the right filter based on your needs and lighting conditions to easily enhance your shots.
To learn more about drone filters, check out the following links: